How to Install a Beer Drip Tray: An Ultimate Guide and Everything You Need to Know
Posted by Ron on 25th Jul 2023
If you’re not sure how to install a drip tray properly, this quick guide will help you. Here, we talk about different types of drip trays and give useful DIY beer drip tray installation tips.
Beer Drip Tray Types & Features
Despite what one may think, beer drip trays come in quite a few shapes, sizes, and styles. Here, we talk about the main types of beer drip trays and their features.

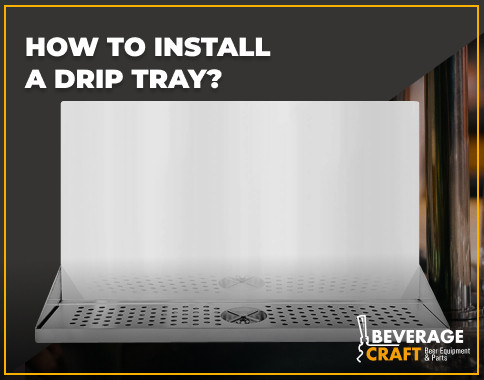
Wall-mount drip trays
These trays are commonly found in bars, pubs, or areas where space is limited. Wall-mount trays often feature a drain hole or a built-in drain system, allowing for easy disposal of collected liquid. Additionally, some models come with removable grates for easier cleaning and maintenance.
Countertop drip trays

Typically bigger in size than wall-mount trays, these trays offer a larger surface area to catch stray droplets and overflows. Countertop drip trays can be made from different materials, including stainless steel, plastic, or rubberized surfaces for better grip. Some models incorporate a splash guard or a removable grid to prevent splashes and make cleaning easier.
Flush-mount drip trays
Flush-mount drip trays can be commonly found in professional bars, pubs, or restaurants aiming for high-end aesthetics. These trays typically come in stainless steel or brass finishes, providing durability, ease of cleaning, and an elegant touch to any bar interior design.
In addition to these three main types, there are also clamp-on drip trays, cut-out drip trays, jockey box drip trays, kegerator drip trays, and more.
What Are the Dimensions of a Beer Drip Tray?
Although there is no single standard, there are certain types of drip trays that share common dimensions:
- Countertop drip trays – 5’’ wide, from 10’’ to 48’’ long; 7’’ wide, from 12’’ to 30’’ long
- Wall mount drip trays – 8’’ wide, 19’’ tall, from 12’’ to 48’’ long
How to Install a Beer Drip Tray in a Countertop
Installing a countertop drip tray with a drain is a fairly easy process. Here's a quick guide to help you get started:
- Choose the location for your DIY beer drip tray setup
- Mark the drilling points
- Drill the hole and insert the drip tray
Obviously, it should be close to the beer dispensing area. Ensure there's enough clearance underneath the countertop for the drip tray, so it doesn't interfere with any plumbing, wiring, or other structures.
Measure the dimensions of the drip tray by positioning the drip tray upside-down on the countertop in the desired location and marking the center of the drain hole on the countertop with a pencil.
Drill the hole and remove any excess debris. Place the surface mount drip tray into the hole, ensuring that it fits securely and sits flush with the countertop surface. Pour a small amount of water onto the drip tray surface to ensure that it drains properly.
How Do I Install a Wall Mount Drip Tray

Here’s a quick guide on how to install a wall-mount drip tray with a drain.
- Choose the location
- Mark the mounting holes
- Pre-drill the holes and attach the mounting brackets
- Attach the drip tray to the mounting brackets
It could be an area near your sink, beverage dispenser, or any other source of potential drips or spills. Make sure the location for your beer drip tray wall mount is easily accessible for cleaning and maintenance.
Hold the drip tray against the wall at the desired height. Use a tape measure to determine the appropriate distance from the floor or countertop. Mark the mounting holes using a pencil.
Using an appropriately-sized drill bit that matches the diameter of the mounting screws, drill holes at the marked positions on the wall. Next, attach the mounting brackets to the wall using the screws.
Slide the drip tray onto the brackets, aligning the holes on the tray with the screws on the brackets.
That’s it! This guide works for most wall mount drip trays on the market.
How Far Down to Put Drip Tray from Beer Faucet
How high should beer taps be? If you’re not planning to fill growlers, 8’’ or 9’’ should be just fine. If you do plan to fill growlers, this can be increased to 13’’.
How to Connect Drip Tray Drain
Installing a drip tray with a drain is not all that difficult – here’s how you do it.
- Find the drain outlet in your drip tray drain assembly – this is where the water will drain out.
- Connect one end of a flexible drain hose to the drain outlet or hole on the drip tray. Ensure the hose is long enough to reach the desired drainage area.
- Use zip ties or a similar securing mechanism to fasten the hose in place, preventing it from coming loose or dangling.
- Position the other end of the drain hose into a suitable drainage area. This can be a sink, a floor drain, or a designated drain pipe. That’s it – your drain assembly for a drip tray is ready.

