
Draught Wine Dispensers and How to Make Your Own
Posted by Ron on 20th Jan 2022
If you’re thinking about getting a wine dispenser or wine kegerator but not sure if keg wine can match bottled wine in terms of taste and freshness, this article is for you. Here, we’ll give you a quick overview of draught wine dispensing equipment, offer some tips on choosing a good wine fridge, and provide you with step-by-step instructions on how to make a wine cooler.
What Equipment Is Used for Wine Dispensing?
In terms of the equipment being used, there is no principal difference between dispensing draught beer or draught wine. A typical wine tap dispenser would consist of the following elements:
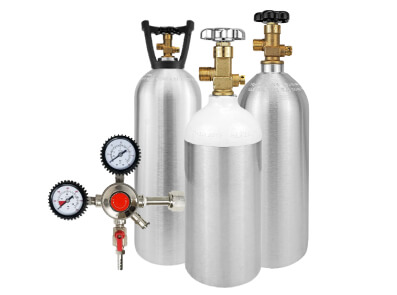
- Gas tank with a gas regulator
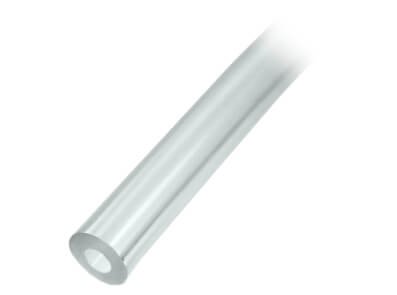
- Beverage line
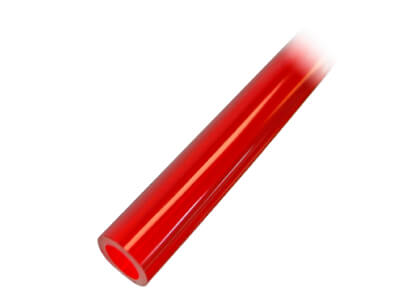
- Gas line
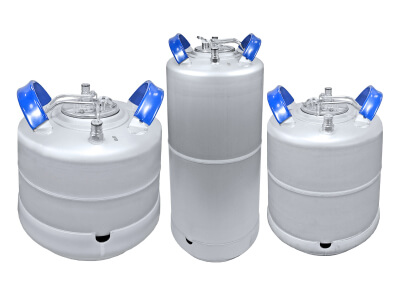
- Keg (typically, a 5-gallon Corny keg)
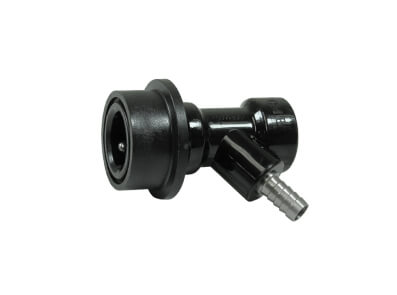
- Gas disconnect

- Beverage disconnect
- Tap/faucet
The way it all works is identical to a draught beer dispensing system. When you pull the tap handle, wine is forced out of the keg by gas pressure, runs through a food-grade PVC beverage line, then comes through the faucet and into a glass.
The main difference between draught beer dispensing and draught wine dispensing is in the gas. While most beers use CO2 for dispensing, still wines are typically dispensed with argon or nitrogen. In certain cases, CO2 is also possible for use with draught wine - e.g., sparkling wine.
Although a typical nitrogen wine dispenser is stationary, you can get a portable wine dispenser in the form of a flash chiller (no ice required, instant chilling - it’s just plug-and-play).
Connect the elements, load the ice, open the faucet, and pour yourself a glass of perfectly chilled wine through one or two wine dispensing towers. As it runs through a series of coils covered with ice, wine is dispensed at a perfect temperature of 55° F (around 13° C).
Where to get wine dispensing equipment or a wine on tap chiller? Beverage Craft offers a wide choice of wine dispensing towers and wine taps for your home as well as accessories and parts, all at highly competitive prices.
How to Choose a Wine Dispenser
When you choose a wine dispenser in Canada, the biggest factor that affects your final decision is whether you want your wine dispenser to be stationary (wine kegerator) or portable (flash chiller).
If you decide to go with the former, the first thing you will need is some sort of keg, which is typically a Cornelius (Corny) keg. There are two kinds of Corny kegs: ball lock and pin lock.
Most Cornelius kegs are ball lock and there are a few advantages to that:
- they have a manual operated pressure relief valve
- the fittings on the outlet and the inlet are the same and can be switched
As for the size, the 5-gallon Corny keg is standard and recommended. You will also need a gas tank (filled with argon or nitrogen, depending on your personal preferences), two PVC tubes (gas line and beverage line) to connect the keg with the tank and the faucet.
For the wine dispenser fridge, the two main things you have to decide on are the size/capacity and the number of taps/faucets. If you’re not sure which kegerator to get, consider this model first - it’s one of the best white wine dispensers for sale available from Beverage Craft.

How to Make a Wine Dispenser: Step-by-Step Instructions
Being able to serve draught wine in the comfort of your own home using a homemade wine dispenser is a great feeling. It is cheaper than buying bottled wine, and a home wine dispenser allows you to enjoy fresh wine longer when no air is left inside the keg. You don’t need to go through an entire bottle in one sitting.
Finally, you can make your own DIY wine dispenser using nothing but an old fridge, wine kegerator kit, and a some common tools. Here’s a brief step-by-step description of how to make a wine dispenser:
- Step 1. Clean the refrigerator thoroughly and remove any shelves.
- Step 2. Drill a hole for the shank in the refrigerator door, insert the door spacer in the hole and run the shank through. Tighten it with the crescent wrench and connect it to the beer line inside the refrigerator using clamps. After that, connect the faucet to the outside part of the shank.
- Step 3. Attach the drip tray to the outside of the refrigerator, just under the faucet.
- Step 4. Connect the beverage line between the faucet and the keg, and the air line between the gas tank and the keg. Tighten all hose clamps with a screwdriver and secure the tanks.
- Step 5. Flush and sanitize the beverage and gas lines in accordance with the instructions provided in the kegerator cleaning kit. The cleaning procedure should be done regularly to prevent the buildup of bacteria, yeast, and mold.
- Step 6. Pour a little wine to test out the system. If everything’s fine, pour some more and enjoy!
Make sure to check out information on wine kegs here.