
How to Set Up a Jockey Box
Posted by Ron on 11th Sep 2023
Jockey boxes are a popular way of dispensing beverages, particularly in outdoor events, picnics, or tailgate parties. Although jockey boxes are generally easy to handle and maintain, it is still important to know how to use a jockey box.
Whether you are learning how to hook up your jockey box for the first time or need a refresher on the essential tools, this guide will equip you with the knowledge you need.
What Is Needed for a Jockey Box Setup?
To ensure a seamless and efficient jockey box setup, it is essential to have the right tools at hand. Here is a list of all the basic parts needed for the process (if you want to go pro, you may require a tapping kit).
Tools Needed for Jockey Box
- Crescent wrench, faucet wrench or flat-head screwdriver This tool is needed for attaching and tightening the fittings on your jockey box.
- Tubing cutter To ensure a clean cut and prevent leakages, you will need a tubing cutter that’s suitable for the material of your beverage lines.
- Extra fittings and washers Having a few additional fittings and washers on hand can be a lifesaver in case of any unexpected leaks or breakages during setup or use. These spare parts can make all the difference and minimize downtime.
- CO2 tank and regulator If you are using a jockey box with a direct-draw system, you will need a CO2 tank and regulator to ensure proper dispensing. The CO2 tank helps maintain the desired pressure for carbonation, while the regulator allows you to control the flow and release of gas.
- Ice and cooler
These are essential for keeping your beverages cold and refreshing. Make sure you have enough ice on hand to last the duration of your event, and a well-insulated cooler that can accommodate your jockey box setup comfortably.
Must-Have Accessories for a Jockey Box
In addition to the tools we’ve mentioned in the previous section, you will also need accessories for jockey box cleaning and an optional jockey box drip tray. Keeping your jockey box clean and free from bacteria is vital for maintaining the quality of your beverages, which is why you need a sanitizing solution and a cleaning brush.
- Sanitizing solution A sanitizing solution (typically a food-grade sanitizer) is essential to scrub and sanitize the various components of your jockey box before and after each use.
- Cleaning brush
This accessory is necessary for getting into the smaller crevices and nooks of your jockey box components. Brushes help to remove any residue or buildup that may affect the taste or quality of your beverages.

Steps for Jockey Box Setup
Setting up a jockey box is not a very complicated process. It consists of a few basic steps that we list below.
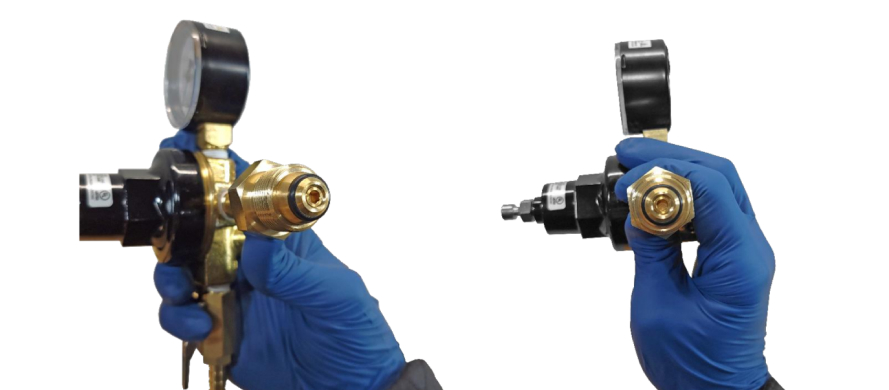
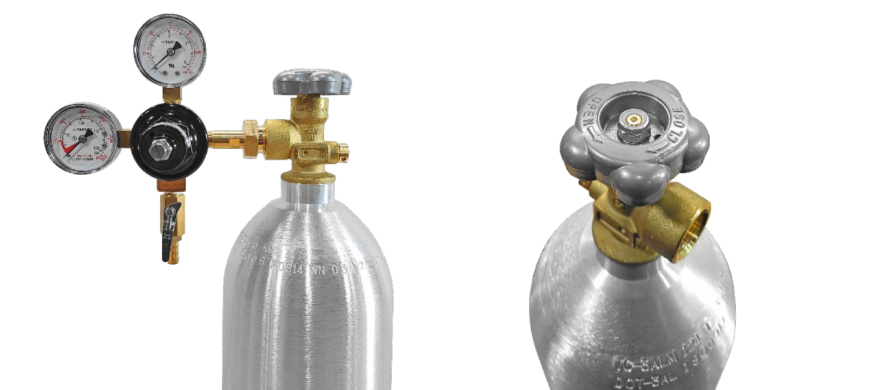
Attach Regulator
Attach the CO2 tank to the CO2 regulator using the proper fittings. Ensure both are securely fastened to prevent any leaks during operation. Check the pressure on the regulator and adjust it to the appropriate level based on your specific beverage requirements.
Attach CO2 Lines
Connect the CO2 tank with the keg coupler (or keg itself, it’s a Cornelius model) using a gas line. Tighten the clamps on both ends.
Attach Manifold (Optional)
This step is required only if you’re setting up a jockey box with more than one tap.
Connect Beverage Lines
Take the beverage lines and attach them to the keg taps. Make sure to use either ball-lock or pin-lock disconnects based on the type of kegs you are using, or simply connect the beverage line to the keg coupler.
Connect the other end of each beverage line to the corresponding jockey box shank. Confirm they are firmly and securely connected to prevent any leaks.

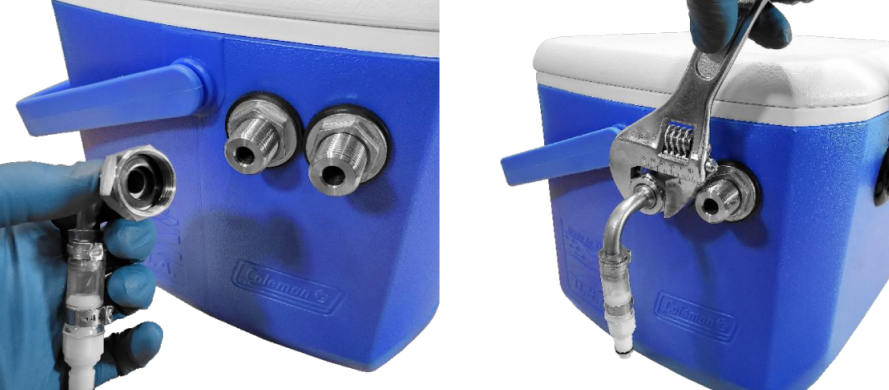
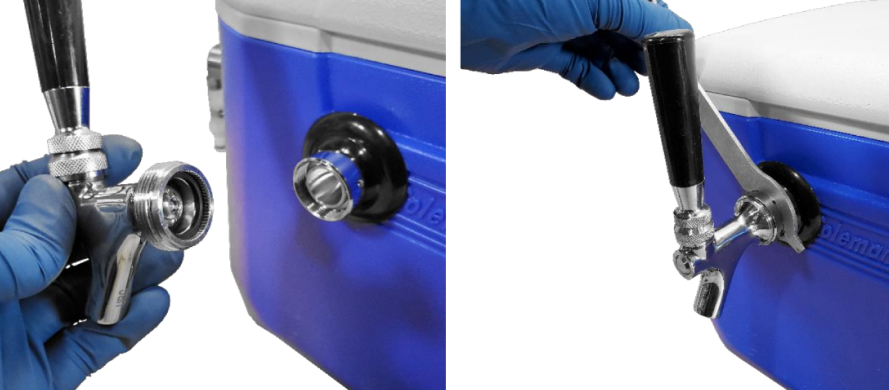
Connect the Beer Shank & Faucet
Attach the beer shank and the faucet to the jockey box using a wrench. Don’t have a faucet yet? Be sure to check our selection of beer faucets on the Beverage Craft website.
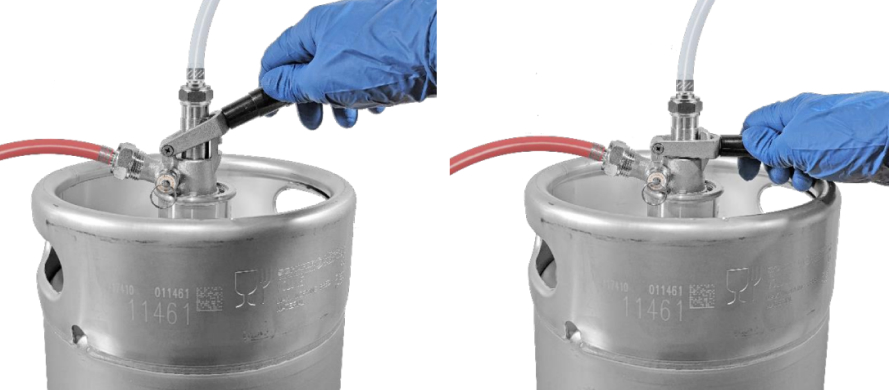
Connect the Cooler Coupling
With the coupler in the UP position, twist it onto the keg and push the handle down to lock it in place.
Adjust the Regulator to the Proper PSI Level
Depending on the type of beer you’re dispensing, you will need to set the pressure within the 25-35 PSI.
When setting the N2 pressure good practice is to first ensure that the regulator valve is in the off position.
Before turning on the gas, make sure that the regulator is in the OFF position. This is because there is no way to know what the previous user had the regulator set to. You could accidently over carbonate the keg!
Starting at 28 PSI, SLOWLY turn the pressure knob clockwise in increments of 2 PSI and check beer flow at every stop.
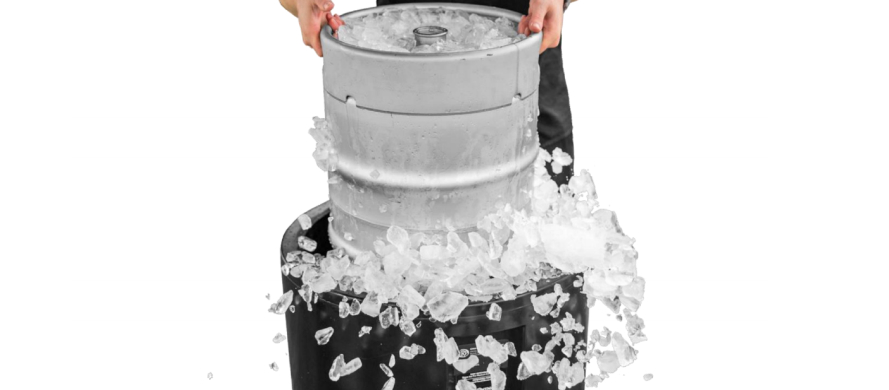
Fill Your Jockey Box’s Coils
Ensure the kegs are properly chilled to the desired temperature before connecting them to the jockey box. Then, fill the jockey box with a sufficient amount of ice, making sure it reaches the ice compartment.
Additional things to check if you’re using a cold plate jockey box:
- Make sure the drain plug is open
- Keep adding ice from to time to ensure the plate is fully covered with it
How Much Ice Do You Need for a Jockey Box?
So, how much ice do you put in a jockey box? If we’re talking about the coil-based models, ideally, the ice level should cover the entire coil of the jockey box to ensure proper cooling. You may also consider using an ice blanket or a frozen water bottle to improve insulation.
Get Your Jockey Box at Beverage Craft
Here at Beverage Craft, we specialize in quality beer equipment and accessories at affordable prices! Whether it’s a picnic, tailgate party, or another outdoor event, you’ll find a jockey box to get that event started just right.
Got some specific requirements? We can help you build a custom draft beer jockey box tailored to your needs.
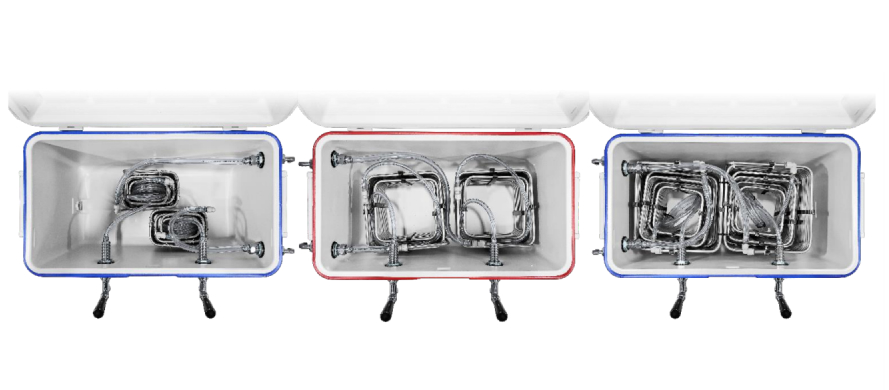
Which Jockey Box Coil Size & Shape to Choose?
The main factor here is how much beer in general and how many different styles in particular you are planning to dispense via your jockey box. Depending on that, you might want to choose a compact 16-QT model with 1 faucet or go with a bigger, 48-QT model that can feature up to 5 faucets to dispense five different styles of beer at a time.
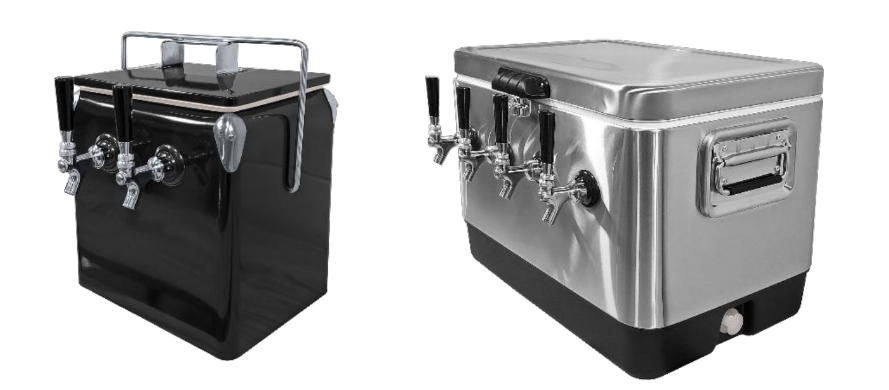
The shape is a matter of stylistic preferences, really. That being said, how can you not love this wonderful retro-style jockey box?
How to Choose a Cold Plate Jockey Box?
The same principles as we’ve described above can be easily applied to the process of choosing a cold-plate jockey box. The only factor you have to consider is the difference in the cooling approach.
Unlike coil-based models, cold-plate jockey boxes need only ice. Plus, the water has to be regularly drained from the box to maintain a steady, cool temperature.